In a previous posting I installed the antennas onto her car.
On this outing we'll be installing the radio itself. The main body of the radio will reside in the cargo shelf at the back of the car whilst the control head, mic and speaker will be mounted in the front.
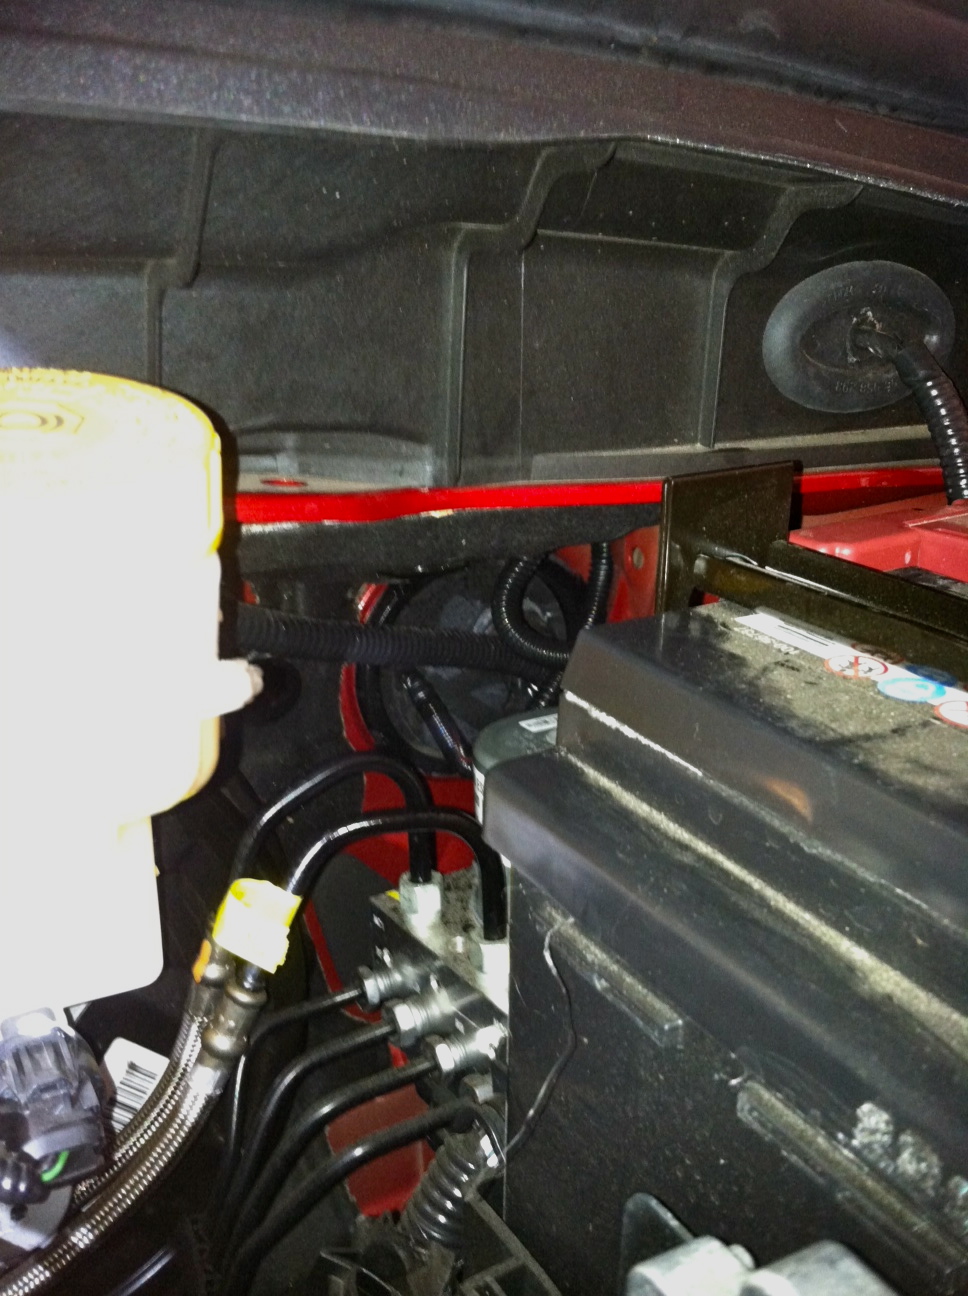
Let's get some power to the back of the car. Get yourself 15 feet of #12 or #10 black and red wire. Cut a hole in the large grommet in the firewall and pass the wire through it. It's easy to find right behind the battery. You can reach it from under the dashboard too.
Do not connect the wires to the battery just yet.

Now that your wire is pulled through from the engine bay, remove the covers from the drivers side door sills and feed the wire through to the back of the car. You will stop when you get to the back seat. Remove the flooring from the trunk to expose the spare wheel. Feed a cable snake from the trunk side of the seat to the drivers side door. Attach your cable and gently pull it back to the trunk.

You may now replace the flooring in the trunk. I terminated the trunk end of the wire with 45Amp Anderson PowerPoles. In turn the cable will feed a fuse box for other equipment. Return to the engine bay and install a 30Amp fuse on BOTH the red and black wires then attach them to the battery. Test the wiring (you should have 12V at the trunk end of the cable). If all is well install the radio into the trunk.

Using the supplied remote head mounting kit, connect one end of the long black telephone style cable to the radio body and feed the other end under the rear seat, across the trans tunnel and into the drivers zone. Do the same with a remote speaker. The microphone will require you to obtain a 6P6C telephone cable. Make sure that it is wired 1-1 rather than 1-6 (reversed). I ended up buying a 25' cable from eBay and then cutting it to length before installing a new plug on the end. As you can see in the above picture, I fed all my control wires through a piece of cable dressing so as to keep them all together.

Finally, using an RJ45 cable coupler, connect the mic to the mic cable. Also connect the head to the black control cable and position all items in your favoured position. I used 3M double sided tape to secure the head to a spot just below the radio control screen.
Don't forget to put your car back together again.
I just bought a 2016 Sonic ltz sedan from a used car dealer. I've been wanting to install my 7900r. I don't have a separation kit, nor a speaker. I'm going to make custom length cables myself. I'll use your head unit location. The main unit will either go under one of the seats, or tucked up inside the dash (so I won't need a speaker). Thanks for the guide and ideas.
ReplyDeleteThank you for posting this.I have a Sonic 2012 and want to install a radio. -KI7HWF
ReplyDeleteI have a 2015 sonic. Pulling my hair out to get the wies from the battery into the cabin. Yaesu ftm3100r. Just gonna mount it by the shifter i guess.
ReplyDelete