Tuesday, 25 July 2017

Wash my clothes in what?

Found at the local Korean supermarket


My girlfriend asked if they had any Dragon dung but this was the closest they had.

Wednesday, 14 June 2017

Programming the Motorola SM50 under Linux

The Motorola SM50 and SM120 are quite a common radio and pop up on eBay all the time for modest prices. As with all Moto gear they come in a variety of models; wideband, narrowband, 2 channel, 16 channel, 40 watt, 4 watt etc etc etc. There are various model decoders available around Al Gore's Interweb Tubes so we won't be covering that here.

I am the proud owner of quite a pile of SM120 M44DGC20C2AA (40W UHF high wideband) models which are ideal for a repeater blabber box, GMRS or FirstResponder use such as your local Ambulance Squad.

Programming them back in the early 90's (yep, they are even older than that!) was by way of a DOS program running on a lowly i286 PC. But hold on, we are on Linux. How's that gonna work? Take a quick look at this youtube video ...


Things you'll need:

A Linux box (DUH!)
DosBox emulator software (apt-get install dosbox)
SM50 programming software (can't help you there but it's not hard to find)
Motorola GM300 style programming cable or "RIB" (I use a USB one from ebay)

How to do it:

Using your favourite terminal program (I use Yakuake) fire up the dosbox emulator by typing 'dosbox'. If you have a Z: prompt then that part works.

Unpack your SM50 software into a folder. Navigate to that folder and then fire up your favourite text editor. we'll be making a config file called 'sm50dosbox.conf'. Mine looks like this ...

[cpu]
core=auto
cputype=auto
cycles=191
cycleup=10
cycledown=20
[serial]
serial1=directserial realport:ttyUSB0
serial2=dummy
serial3=disabled
serial4=disabled
[dos]
xms=true
ems=true
umb=true
keyboardlayout=auto
[autoexec]
# Lines in this section will be run at startup.
# You can put your MOUNT lines here.
mount C /home/g7ltt/raid/Filestore/DOS
mount M /home/g7ltt/raid/Filestore/motocd/SM50/R030000
m:
m:\SM50.EXE
Adjust the 'serial' lines to match your USB port. Also adjust the 'mount' lines to reflect your path. In my case 'C' becomes C: and holds a few DOS utilities. The 'M' becomes M: which contains my SM50 software. 

Save your file and the type 'dosbox -conf sm50dosbox.conf' and watch it all fire up. You'll have to configure the dos software to use COM1 but otherwise you'll be programming in no time.

In theory this should work for other Motorola DOS based programming tools for other radio's. However, I've not been able to get the GM300 or Maxtrac software to communicate with the radio. It seems that (for USB cables at least) the serial speed of 930bps is not supported by either the OS or the emulator.

If you get one of the other DOS programs to work please do drop me a line.

Tuesday, 9 May 2017

Selfies; 1890's style

I went to the Delaware Museum of Art this past weekend. Of all the works installed there I found nothing of interest until I saw this sculpture.


That's a bunch of grapes she's holding in her right hand. It occurred to me that I've seen this pose before. It's the selfie pose. Raise the phone high into the air and then snap a picture of yourself whilst making a duck like face.

Being able to reach up to the hand with the grapes I obliged the woman.


Tuesday, 2 May 2017

INADVM Rev1 build

I bought this http://inadvm.com/inadvm/inadvm-index.html Its a multi mode modem for use with Fusion, DMR and D-STAR radio systems. One uses it with MMDVM software to create a multi mode hotspot.

The board I bought is a development board. It is already in Rev2 but much of the board is the same. The difference between the revisions is simply RSSI facilities added to Rev2.

There being currently no construction and test details I documented my construction and initital testing of the modem.

On a clean workbench assemble your tools. You'll need a 15W soldering iron, solder, the kit, your Arduino Due, test meter, chocolate cookies and a Brownian Motion Producer such as a nice hot cup of tea.


Dump out the contents of the anti static bag and inventory your kit per the parts list found here.


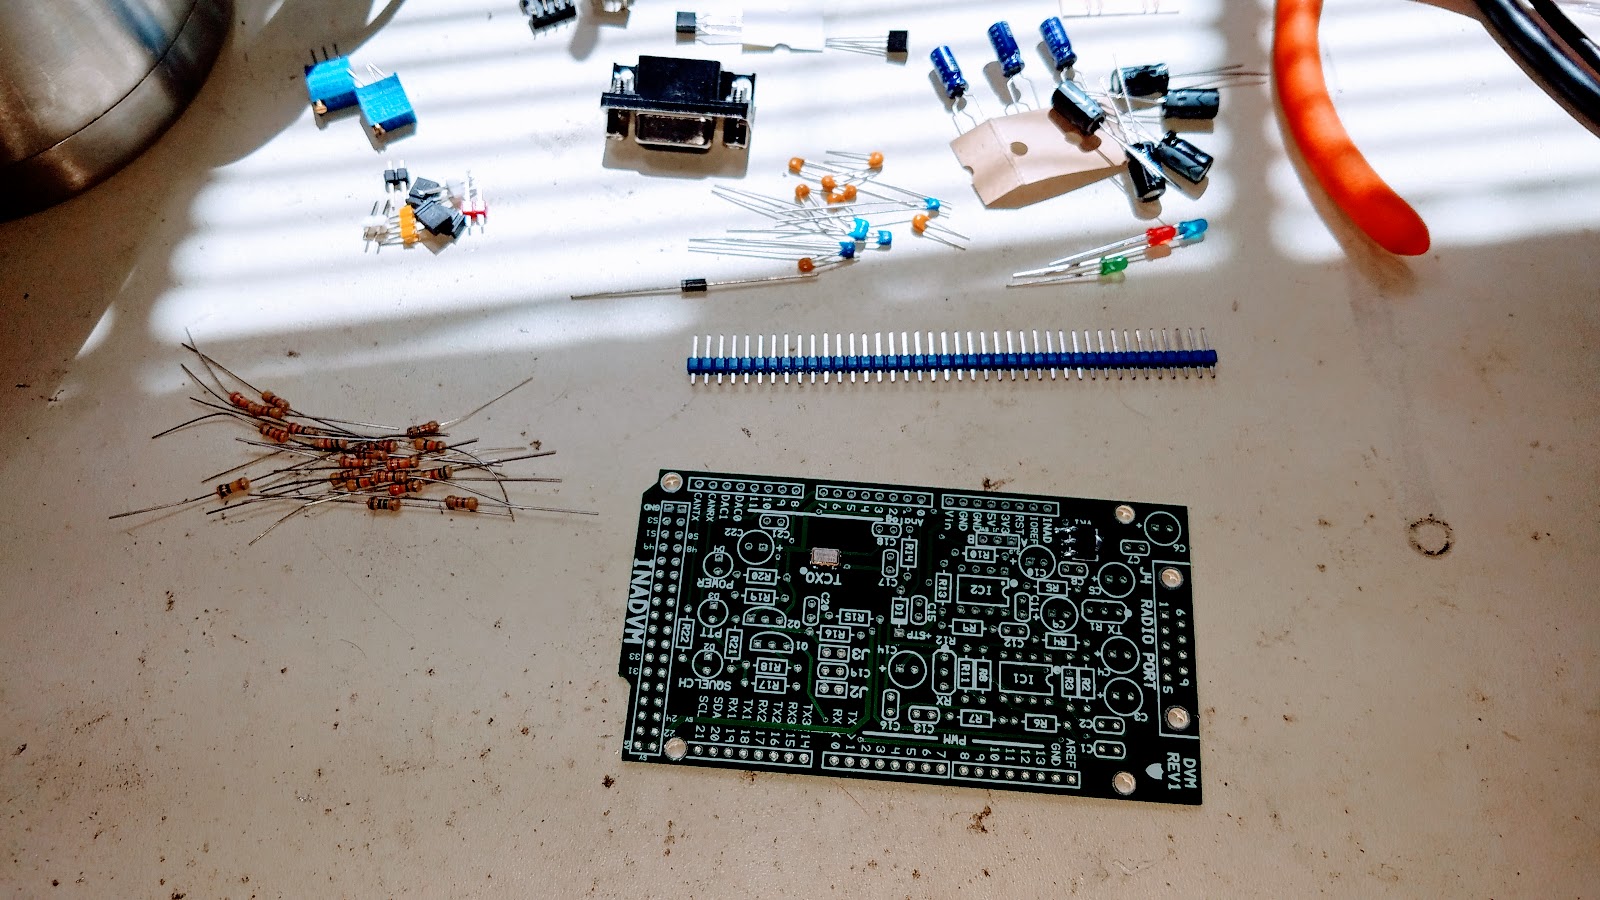
Conventional wisdom dictates that we build our kits in a particular order. This is usually mechanical, resistors, capacitors then finally semiconductors. We are NOT going to do that. We are going to build a stable platform for which to install all the parts. The platform will be made out of the electrolytic capacitors and other mechanical parts. This will help prevent the board from rocking whilst you are soldering on the other parts.

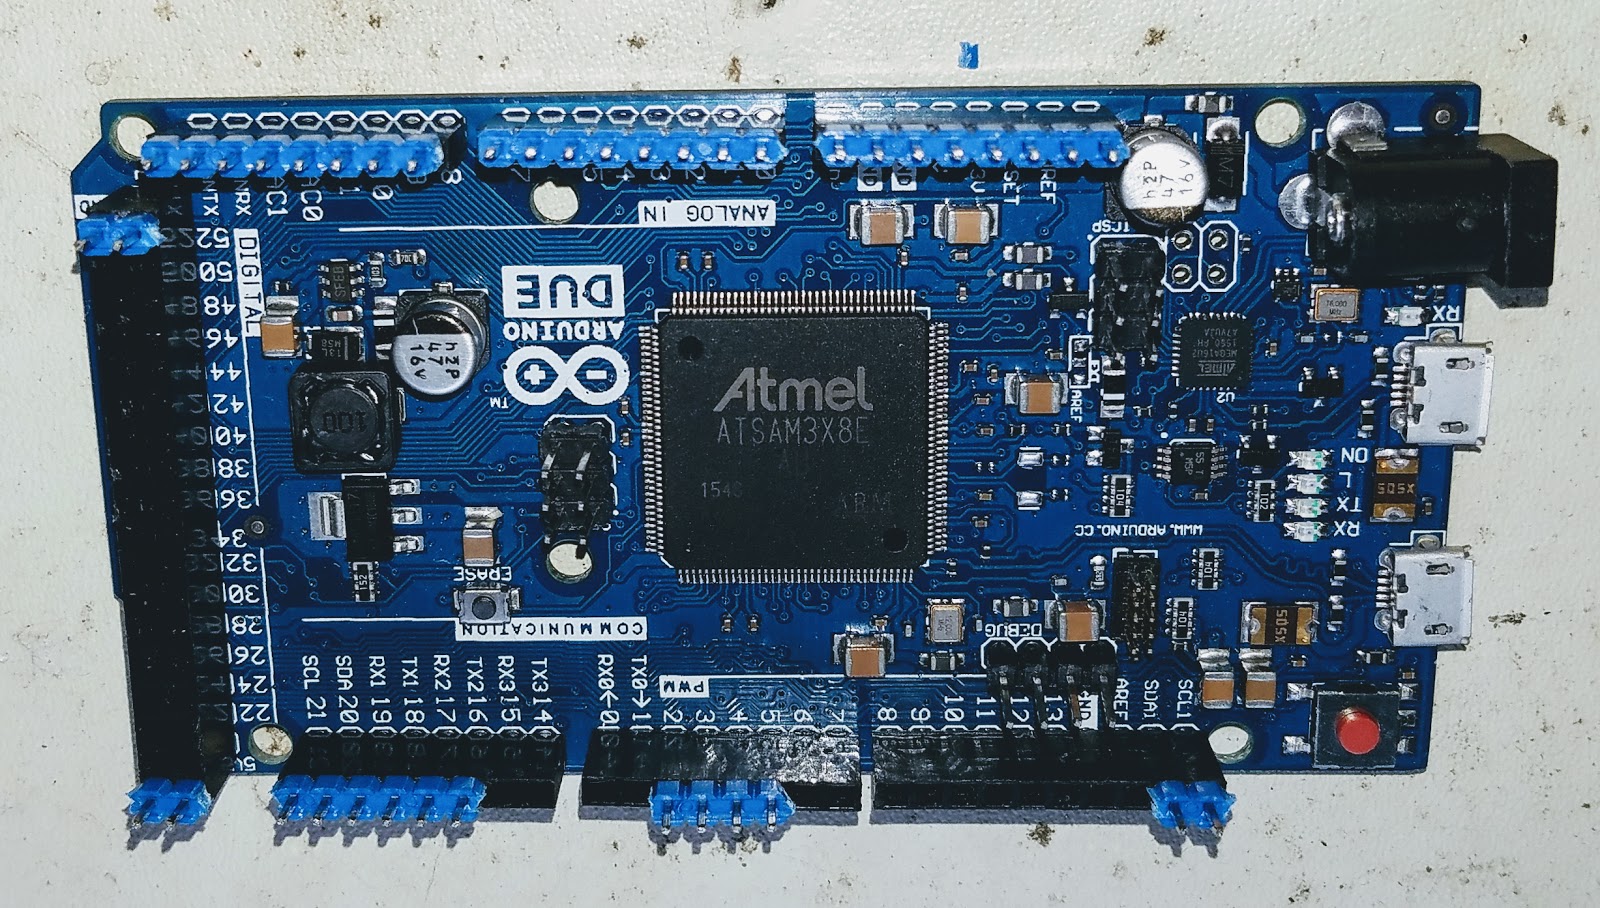
Install the header strip into the Arduino Due. This will greatly aid in aligning the headers when you mate the INADVM board. Make sure to install the long part of the header into the Arduino. The short part will go through the board and get soldered.


Place the board onto the Arduino and header pins. Solder only the pins that stick though the board.


You should end up with this when you complete this step.


Install all the electrolytic capacitors. Take care to orientate them correctly. The long leg goes to the "+" on the legend.


Now turn the board over and check for stability. Better, right?


Now it's time to take a well earned swig of your Brownian Motion Producer. Go ahead and treat yourself to one of those chocolate cookies too.

Install the rest of the mechanical parts. These are the IC sockets, DB9 connector, headers and jumpers. I also installed the variable resistors too. Pay attention to my orientation. The legend on the board is WRONG!! If you installed your part per the legend you'll be forced to adjust your modem in the reverse direction. Not a big deal but catch it now whilst you can. Install the jumper into position "A" on the yellow header.


Install the resistors, capacitors and the diodes. DO NOT install any of the transistor or IC parts! Install the board onto the Arduino and power it up. I connected my shack supply to the Arduino which can take up to 36V via the barrel connector.

Observe the board for blue smoke. If you see any disconnect the power IMMEDIATELY!  Using your meter check for 3.3V on pin 8 of both IC sockets. The "power" LED should also light up.


Unplug the board. Install the remaining parts paying attention to install the IC's the right way around.


That's it. You are now ready to install the firmware onto the Arduino and enjoy your modem. Go ahead and eat your last cookie. Heck! Get yourself a beer. You earned it!


Thursday, 23 February 2017

Monday, 13 February 2017

IoT gone mad

Spotted this in WalMart yesterday. It's a Wi-Fi enabled slow cooker. Yep. You heard me right. A Wi-Fi enabled slow cooker. It's got an app too!


The more I think about this the more I think it's a food poisoning outbreak waiting to happen. You dump your ingredients into the pot (see below for chili recipe) and then you leave the house for the rest of the day. Somewhere around lunchtime you connect to your slow cooker and turn it on for 6 hours. What's been going on with the raw meat that's been sitting in the pot all morning? I'll leave that to your imagination.

Hmmmnnnn ... I wonder what a hacker could do with access to your kitchen?


Ingredients

2lb lean (at least 80%) ground beef
1large onion, chopped (1 cup)
2cloves garlic, finely chopped
1can (28 oz) diced tomatoes, undrained
1can (16 oz) chili beans in sauce, undrained
1can (15 oz) tomato sauce
2tablespoons chili powder
1 1/2teaspoons ground cumin
1/2teaspoon salt
1/2teaspoon pepper

Directions
1 In 12-inch skillet, cook beef and onion over medium heat 8 to 10 minutes, stirring occasionally, until beef is brown; drain.
2 In 4- to 5-quart slow cooker, mix beef, onion and remaining ingredients.
3 Cover and cook on Low heat setting 6 to 8 hours.

Friday, 10 February 2017

JNOS on Raspberry Pi

Inspired by the PiGate and already possessing the constituent parts (including the 3D printer to make the enclosure) I decided to try my hand at getting a JNOS system together. TCP/IP over radio fans will probably remember JNOS from way back when. Good news! It's still being maintained by Maiko Langelaar, VE4KLM http://www.langelaar.net/projects/jnos2/

As it turns out this project was quite trivial to put together. Maiko has done all the hard work with his software and John Hanson, W2FS did more hard work with his TNC-Pi hardware


The top 2 pictures show a RPi3 and a TNC-Pi housed in the PiGate 3D printed enclosure (should have printed it in OEM Orange!). The bottom picture shows the completed PiGate hardware connected to a KPC3+ via a direct audio cross-over cable.

So how do I build the JNOS? I started with a shiny new 8GB SD card that I picked up at Microcenter for $4 and a RPi3 which I also got from Microcenter for $30. I also downloaded the latest edition of Raspbian Jessie Lite. The Lite version does not have a GUI. Real men can use the Linux command line. /JFDI!! I'm not going to tell you how to install the RPi and get it onto your network. There are plenty of other resources available for that.

Before we start, have you confirmed that your TNC-Pi works correctly? You can use the tools from the TNC-Pi website to talk to the modem? You removed and added lines per the instruction on the website? Good.

Let us start by installing the the latest updates, patches and a few required libraries ...

sudo apt-get update
sudo apt-get upgrade
sudo apt-get install libssl-dev libncurses5-dev libncursesw5-dev

Now get the latest sources from Maiko's website and unpack it. Navigate to the 'src' directory. Copy the config.h.default file to config.h and edit it to your requirements.

Now for the hard part. Go ahead and 'make' JNOS. It'll take about 10 minutes so go and make a nice Brownian Motion producer.

So it's JNOS, right? So that means you'll need to craft all the relevant config and support files, autoexec.nos, ftpusers, rewrite, forward.bbs etc. But just to be nice I'll give you a head start on the modem config in autoexec.nos ...

#
# ---------- TNC-Pi specific----------
#
# We are using a single TNC-Pi KISS modem from Coastal Chipworks (hi John!!) configured to use the serial port @ 19200bps
attach asy ttyAMA0 - ax25 pitnc 1024 256 19200
# That's all. Carry on with the config
#
And that's really all there is to it. As stated previously I connected the RPi/TNC-Pi directly to my KPC3+ via a cross-over cable. I was able to connect to the JNOS BBS prompt as seen below. It just works.

Some links ...